
Day One
The Heart of Exposure
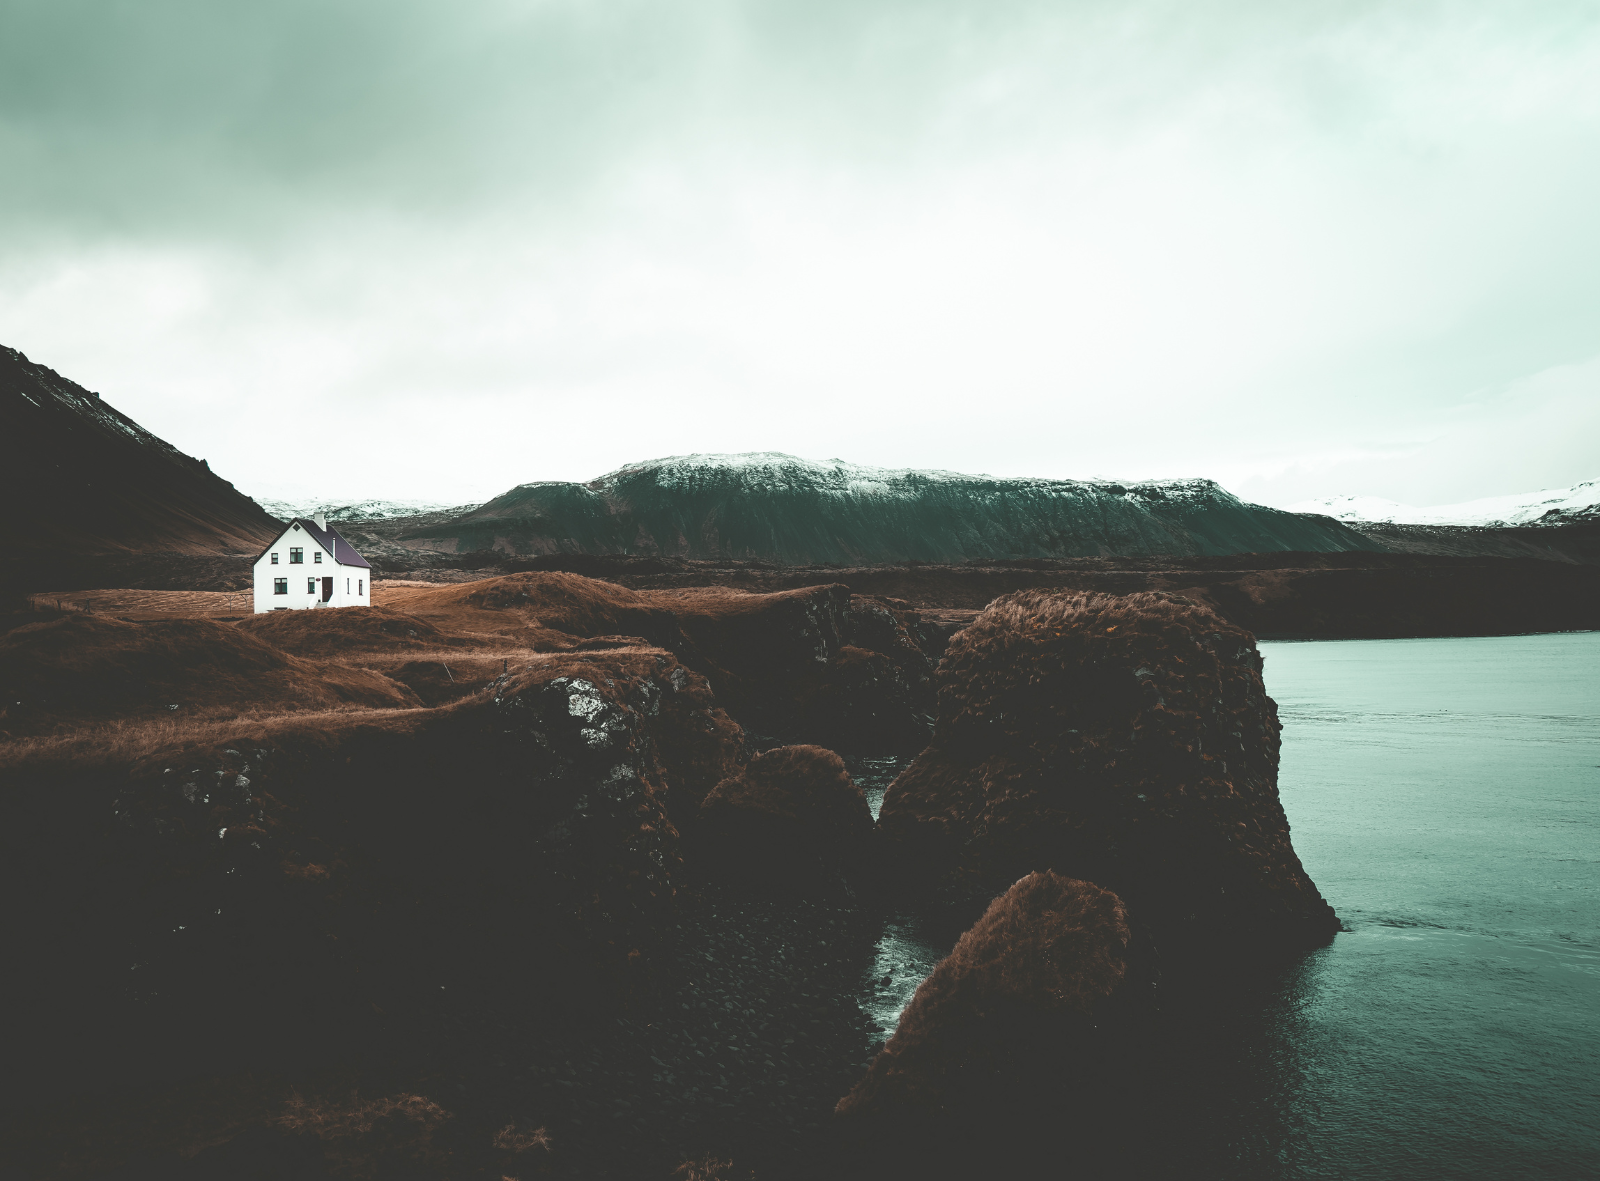
Why Your Photos Are Too Bright or Too Dark
Last week, you learned to see light.
This week, you learn to work with it.
Exposure is simply how bright or dark your photo is.
That’s all it means.
Too bright, you lose detail.
Too dark, the story disappears.
Everything you learn this week will help you understand, calmly and clearly, why your photo turned out the way it did and how to fix it before you press the shutter.
Before You Start
If you’re using a camera:
Switch to Aperture Priority Mode (A or Av).
You control the aperture.
Your camera helps with the rest.
This gives you control without overwhelm.
You’ll move into full Manual in Week Three, once all of this feels steady.
If you’re using an iPhone:
Tap and hold on your subject to lock exposure, then drag up to brighten or down to darken.
That’s all you need for now.
Understanding Exposure on a Camera
There are three things that decide how bright your photo is:
aperture, shutter speed, and ISO.
You don’t need to master all three today.
You only need to understand the basics — especially aperture and ISO, because those are the tools you’ll use this week.
Let’s keep it simple.
Aperture — The Size of the Opening
Aperture controls two things:
• how much light enters the lens
• how blurry or sharp the background looks
Think of it like a window.
A big opening (small f-number like f/1.8, f/2.8)
• more light
• brighter photo
• blurrier background
It’s like opening your curtains wide.
A small opening (large f-number like f/8, f/11)
• less light
• darker photo
• sharper background
It’s like closing your curtains almost all the way.
Small number = big opening = brighter and blurrier
Large number = small opening = darker and sharper
That’s all you need to remember right now.
ISO — Sensitivity to Light
ISO is how sensitive your camera is to light — like your camera’s ability to “hear” in darkness.
Low ISO (100–400)
• less sensitive
• cleaner image
• best for bright conditions
Think of speaking in a quiet room — everything sounds crisp.
High ISO (800–3200+)
• more sensitive
• brighter image
• adds grain or noise
Like turning up the volume to hear a whisper — you hear more, but you hear all the noise too.
ISO is your backup when aperture alone isn’t enough.
Where to Find These Settings
These controls live in similar places on most cameras:
Aperture
Look for:
• numbers like 2.8, 4, 5.6, 8
• the front or back dial while in A/Av mode
• a display that starts with “f/”
ISO
Look for:
• a button labeled ISO
• or a quick-menu option
• or a setting in your shooting menu
You don’t need to memorize buttons.
You just need to know what you’re looking for.
Exposure on an iPhone: Simple + Intuitive
Your iPhone keeps exposure easy:
Tap and hold on your subject
“AE/AF LOCK” appears
Slide up to brighten
Slide down to darken
Avoid bright white patches (blown highlights) by pulling the exposure down slightly.
Today’s Practice: One Scene, Three Brightness Levels
Use a simple scene: a mug, a plant, a chair by a window — nothing emotional.
Take three photos:
Too Bright
Camera: lower the f-number or raise ISO
iPhone: drag exposure up
Too Dark
Camera: raise the f-number or lower ISO
iPhone: drag exposure down
Just Right
Adjust until the brightness feels natural — not washed out, not muddy.
The point isn’t to be perfect.
The point is to feel the difference you’re creating.
Why This Matters
Once you know how to control brightness, photography stops feeling random.
You stop hoping for a “lucky shot.”
You start shooting with intention.
Tomorrow you’ll go deeper into aperture — not as a technical thing, but as a soft, simple tool for creating depth, clarity, and mood.
Brightness = Feeling
Exposure looks like a technical setting,
but it’s really a feeling.
Bright moments feel open, honest, energized.
Dark moments feel intimate, quiet, grounded.
The camera captures light,
but you capture emotion.
Today wasn’t just about learning how to brighten or darken a photo.
It was about noticing which emotional temperature you instinctively reach for.
Some of us naturally brighten the world.
Some of us soften it.
Some of us need both.
Your editing choices aren’t random —
they’re reflections.
PAUSE
Hold the moment before you adjust brightness.
NOTICE
Is today a bright day or a dim day for you?
CAPTURE
Photograph two things that feel emotionally opposite in your day:
• the sink full of water vs. the quiet corner of your couch
• sunlight on your hand vs. the shadow under the table
• the inside of your fridge vs. your dark hallway
One brightened intentionally.
One darkened intentionally.
REFLECT
• Which brightness felt more honest today?
Reflective Question:
Are you naturally someone who brightens moments — or someone who finds comfort in dimness? And what does today’s exposure teach you about how you’re feeling?